ps CS6調(diào)出外景婚片夢幻亮麗紫色調(diào)效果
2022-12-25 23:00:03
來源/作者: /
己有:8人學習過
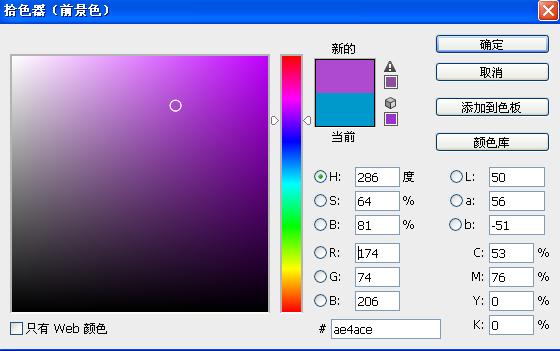
3、新建空白圖層,前景顏色設置如下圖。填充到圖層。圖層樣式設置為“濾色“添加蒙版,用黑色畫筆涂上。如下圖
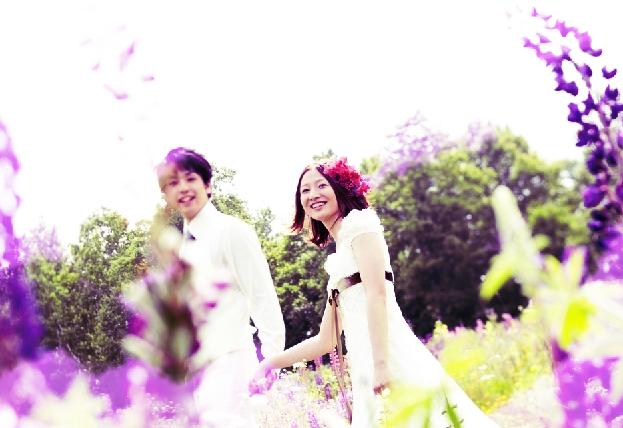
效果:
4、創(chuàng)建曲線圖層,對RGB進行調(diào)整。參數(shù)設置如下圖

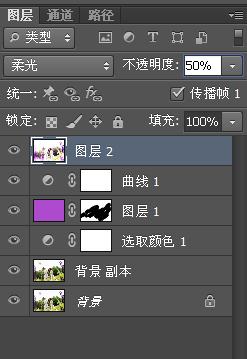
5、蓋印圖層,圖層樣式設置為”柔光“不透明度為50%
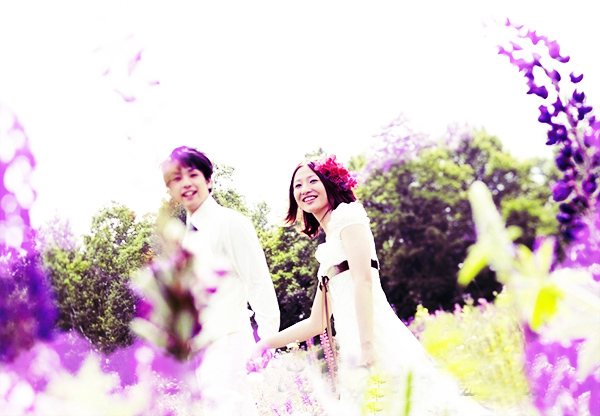
6、最終效果如下圖!
上一篇:ps春季人物外景照片的橙綠柔美色
下一篇:ps韓系非主流紫藍色
相關(guān)推薦

撕紙效果,在PS中繪制人像撕紙效果

ps筆刷濾鏡工具安裝教程

ps cs6快捷鍵大全
濾鏡安裝教程

ps調(diào)出高級復古歐美色調(diào)教程

PS夜景美化:調(diào)出唯美藍色夜景燈光照片效果

調(diào)出絢麗藍天白云山水風景圖片的PS教程

調(diào)出金色晨曦森林兒童背影照片的PS教程


