Photoshop處理婚紗照片溫馨的朝霞色建
2022-12-25 22:35:12
來源/作者: /
己有:44人學習過
7、按Ctrl
+ J 把當前可選顏色調整圖層復制一層,不透明度改為:50%,效果如下圖。
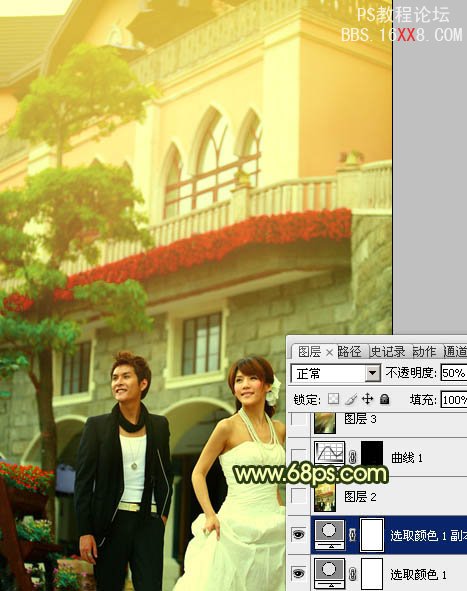
<圖16>
8、新建一個圖層,按Ctrl + Alt + Shift + E 蓋印圖層。適當把人物臉部放大,用減淡工具把臉部的高光部分稍微涂亮一點,如下圖。
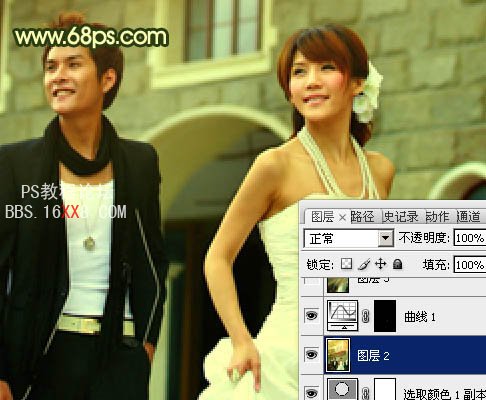
<圖17>
<圖16>
8、新建一個圖層,按Ctrl + Alt + Shift + E 蓋印圖層。適當把人物臉部放大,用減淡工具把臉部的高光部分稍微涂亮一點,如下圖。
<圖17>
上一篇:青綠色的外景圖片調色教程
相關推薦

建筑后期,徽派建筑后期處理實例

PS給曝光照片添加朝霞效果

ps質感中性色調人物調色教程

ps淡藍色人物調色教程

ps調出高級復古歐美色調教程

PS夜景美化:調出唯美藍色夜景燈光照片效果

調出絢麗藍天白云山水風景圖片的PS教程

調出金色晨曦森林兒童背影照片的PS教程


