Photoshop調出春季外景美女圖片柔美的粉黃色
2022-12-25 22:37:18
來源/作者: /
己有:33人學習過
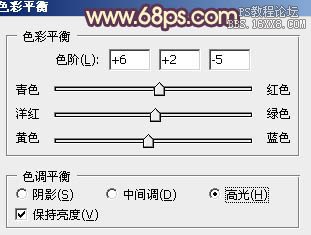
5、創建色彩平衡調整圖層,對高光進行調整,參數設置如圖13,確定后把圖層不透明度改為:50%,效果如圖14。

<圖13>

<圖14>
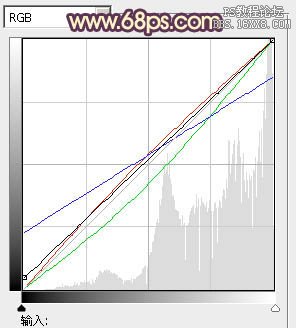
6、創建曲線調整圖層,對各通道進行調整,參數設置如圖15,效果如圖16。這一步只是調色背景顏色,人物部分可能會有的偏色,后面會修復。

<圖15>

<圖16>

<圖13>

<圖14>
6、創建曲線調整圖層,對各通道進行調整,參數設置如圖15,效果如圖16。這一步只是調色背景顏色,人物部分可能會有的偏色,后面會修復。

<圖15>

<圖16>


![[非主流PS教程] 非主流圖片制作教](https://img.lvups.com/d/file/titlepic/2022/12/25/ezubq003eyi.jpg)


