photoshop效果教程:浪漫的愛情簽名效果
2022-12-25 19:45:54
來源/作者: /
己有:3人學習過
來源:PS聯盟 作者:Sener
本教程主要介紹人物圖片的調色和細節 裝飾。思路:主要根據圖片的構圖和人物表情去發揮,盡量取加一些活潑的裝飾圖案,至于色彩可 以按照自己的喜愛去調。
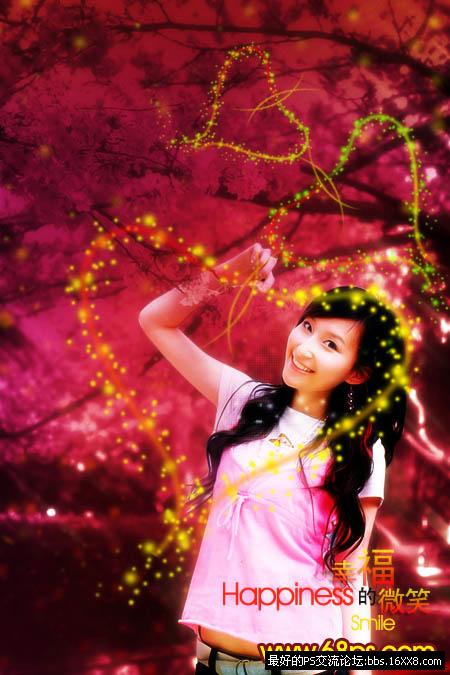
最終效果
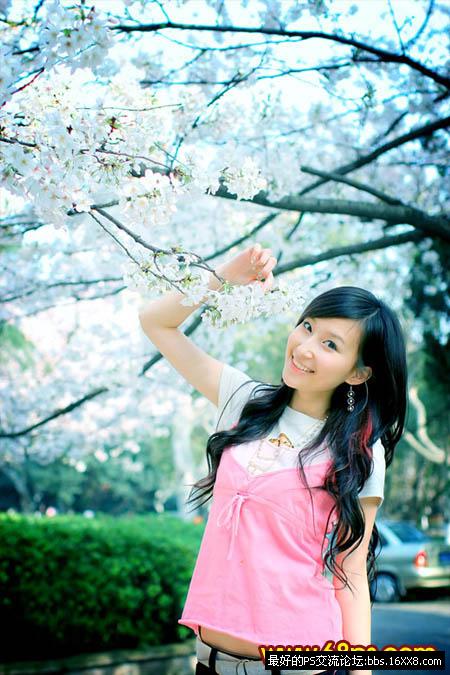
原圖
1、打開原圖,按Ctrl + J復制一層,執行菜單:濾鏡 其它 高反差保留,參數設置如圖1。
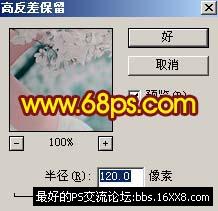
圖1
2、按Ctrl + B調色彩平衡,參數設置如圖2,效果如圖3。
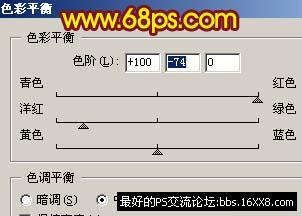
圖2
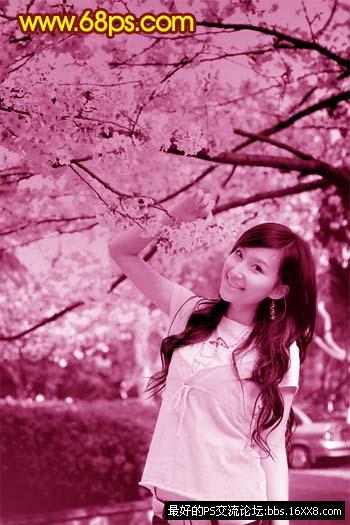
圖3
3、按Ctrl + M調曲 線,參數設置如圖4,效果如圖5。
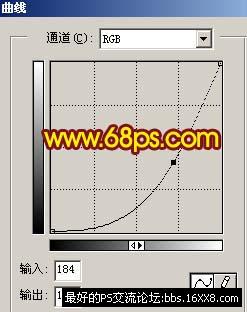
圖4
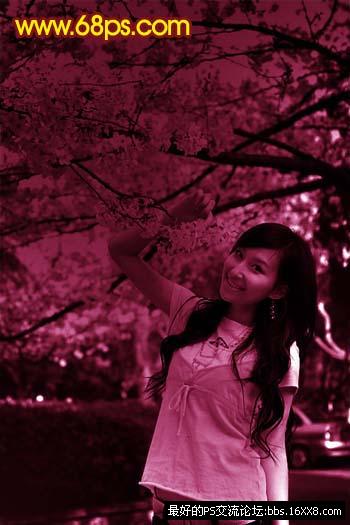
圖5
4、把背景圖層復制一層,按Ctrl + Shift + ]移到圖層的最上面,用鋼筆工具把人物勾 出來,把圖層混合模式改為柔光,然后調整下色彩大致效果如圖6。
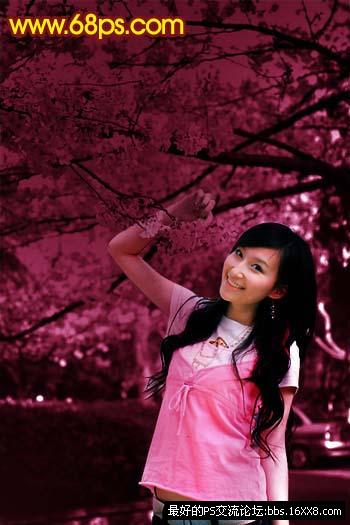
圖6
5、新建一個圖層按Ctrl + Alt + Shift + E蓋印圖層,執行菜單:濾鏡 模糊 高斯模糊,數值為5,確定后把圖層混合模 式改為濾色,圖層不透明度改為:60%,效果如圖7。
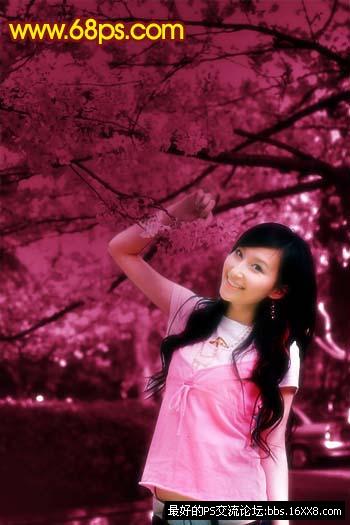
圖7
6 、新建一個圖層按Ctrl + Alt + Shift + E蓋印圖層,執行菜單:濾鏡 模糊 動感模糊,參數設 置如圖8,確定后把圖層混合模式改為濾色,圖層不透明度改為:60%,效果如圖9。
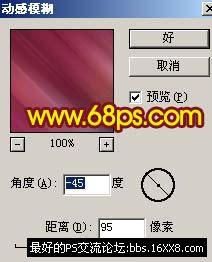
圖8
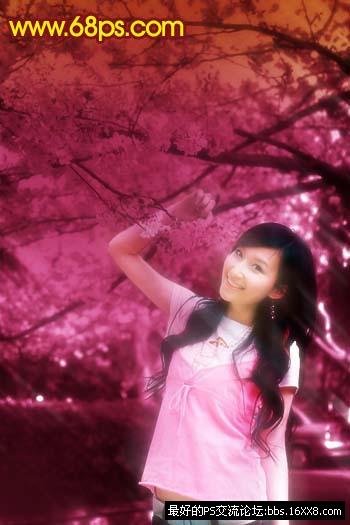
圖9
本教程主要介紹人物圖片的調色和細節 裝飾。思路:主要根據圖片的構圖和人物表情去發揮,盡量取加一些活潑的裝飾圖案,至于色彩可 以按照自己的喜愛去調。
最終效果
原圖
1、打開原圖,按Ctrl + J復制一層,執行菜單:濾鏡 其它 高反差保留,參數設置如圖1。
圖1
2、按Ctrl + B調色彩平衡,參數設置如圖2,效果如圖3。
圖2
圖3
3、按Ctrl + M調曲 線,參數設置如圖4,效果如圖5。
圖4
圖5
4、把背景圖層復制一層,按Ctrl + Shift + ]移到圖層的最上面,用鋼筆工具把人物勾 出來,把圖層混合模式改為柔光,然后調整下色彩大致效果如圖6。
圖6
5、新建一個圖層按Ctrl + Alt + Shift + E蓋印圖層,執行菜單:濾鏡 模糊 高斯模糊,數值為5,確定后把圖層混合模 式改為濾色,圖層不透明度改為:60%,效果如圖7。
圖7
6 、新建一個圖層按Ctrl + Alt + Shift + E蓋印圖層,執行菜單:濾鏡 模糊 動感模糊,參數設 置如圖8,確定后把圖層混合模式改為濾色,圖層不透明度改為:60%,效果如圖9。
圖8
圖9
標簽(TAG) 人物調色
上一篇:ps跟著大片學修圖
相關推薦

簡易畫貓頭鷹的步驟 畫貓頭鷹的簡

幼兒簡筆畫烏鴉的畫法 教你如何畫

如何簡單的畫一條魚 5步畫魚簡筆畫

Photoshop鼠繪牡丹花

ps調出高級復古歐美色調教程

PS夜景美化:調出唯美藍色夜景燈光照片效果

調出絢麗藍天白云山水風景圖片的PS教程

調出金色晨曦森林兒童背影照片的PS教程


