ps做金秋色調教程
2022-12-25 20:37:25
來源/作者: /
己有:3人學習過
最終效果:

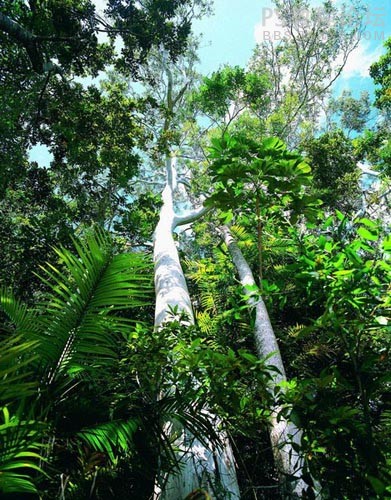
原圖
1、給它來個照片濾鏡(圖層/新建調整圖層/照片濾鏡)

,
2、給它來個曲線(圖層/新建調整圖層/曲線)

3、再進行色彩平衡調整下(圖層/新建調整圖層/色彩平衡)

4、新建圖層,然后按快捷鍵(ctrl+alt+shift+e)

,
5、ctrl+j按兩次可以復制兩張圖,把這三張圖混合模式改正片疊底,最上面一個添個圖層蒙版拉漸變。

6、再ctrl+j復制一層,并去色(ctrl+shift+u)再CTRL+L色階調整,調到自己舒服為準!

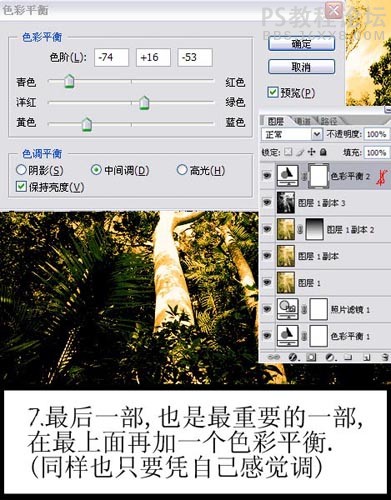
7、最后一部,也是最重要的一部,在最上面再加一個色彩平衡,(同樣也只要憑自己感覺調)
原圖
1、給它來個照片濾鏡(圖層/新建調整圖層/照片濾鏡)
,
2、給它來個曲線(圖層/新建調整圖層/曲線)
3、再進行色彩平衡調整下(圖層/新建調整圖層/色彩平衡)
4、新建圖層,然后按快捷鍵(ctrl+alt+shift+e)
,
5、ctrl+j按兩次可以復制兩張圖,把這三張圖混合模式改正片疊底,最上面一個添個圖層蒙版拉漸變。
6、再ctrl+j復制一層,并去色(ctrl+shift+u)再CTRL+L色階調整,調到自己舒服為準!
7、最后一部,也是最重要的一部,在最上面再加一個色彩平衡,(同樣也只要憑自己感覺調)
下一篇:ps調出顆粒質感的黑白照片
相關推薦

PS成簽教程:你是我唯一的愛-----人

人物調色--秋天不回來

人物調色,調佟麗婭古裝照片教程

調色方法,用Photoshop中的漸變映射

ps調出高級復古歐美色調教程

PS夜景美化:調出唯美藍色夜景燈光照片效果

調出絢麗藍天白云山水風景圖片的PS教程

調出金色晨曦森林兒童背影照片的PS教程


