青藍夢幻色調
2022-12-25 19:48:19
來源/作者: /
己有:26人學習過
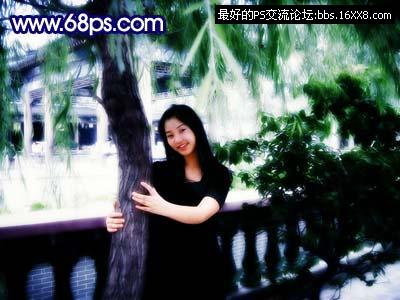
12、創建曲線調整圖層,參數設置如圖12,效果如圖13。
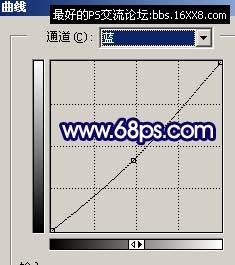
<圖12>

<圖13>
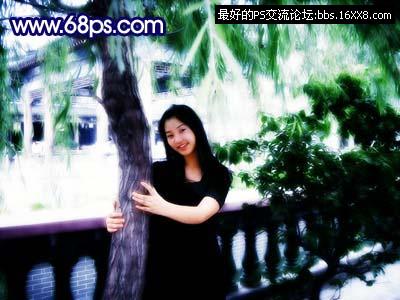
13、把背景圖層復制一層,按Ctrl + Shift + ]移到圖層的最上面,把圖層混合模式改為“柔光”,效果如圖14。
<圖14>
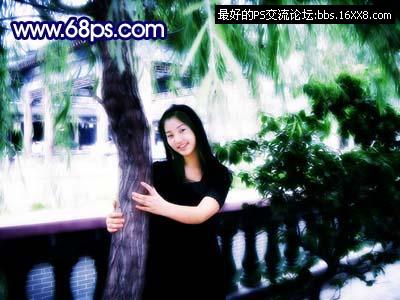
14、新建一個圖層蓋印圖層,把圖層混合模式改為“濾色”,圖層不透明度改為:60%,加上圖層蒙版把人物部分擦出來,效果如圖15。
<圖15>
15、新建一個圖層蓋印圖層,用減淡工具把人物臉部調白一點,效果如圖16。
<圖16>
16、新建一個圖層,填充顏色:#DFE9FC,然后把圖層混合模式改為“顏色加深”,效果如圖17。
<圖17>
17、新建一個圖層,選擇漸變工具拉出圖18,所示范的線性漸變,然后把圖層混合模式改為“柔光”,圖層不透明度改為:50%,效果如圖19。

<圖18>
<圖19>
18、新建一個圖層,蓋印圖層,整體調整下細節,完成最終效果。
<圖20>
標簽(TAG) 人物調色
下一篇:photoshop調淡黃清純色調
相關推薦

簡易畫貓頭鷹的步驟 畫貓頭鷹的簡

幼兒簡筆畫烏鴉的畫法 教你如何畫

如何簡單的畫一條魚 5步畫魚簡筆畫

使用技巧,那些可能會忘記的PC小技巧

ps調出高級復古歐美色調教程

PS夜景美化:調出唯美藍色夜景燈光照片效果

調出絢麗藍天白云山水風景圖片的PS教程

調出金色晨曦森林兒童背影照片的PS教程


