非主流ps教程:非主流青粉色調
2022-12-25 19:52:39
來源/作者: /
己有:2人學習過
來源:PS聯(lián)盟 作者:Sener
本教程介紹色彩比較沉的照片調色方法。思路:先局部上色,用畫筆選擇不同的顏色把人物的局部涂出來,再改變混合模式即可改變局部顏色。然后再整體調色。調色的時候可以適當把背景模糊處理!
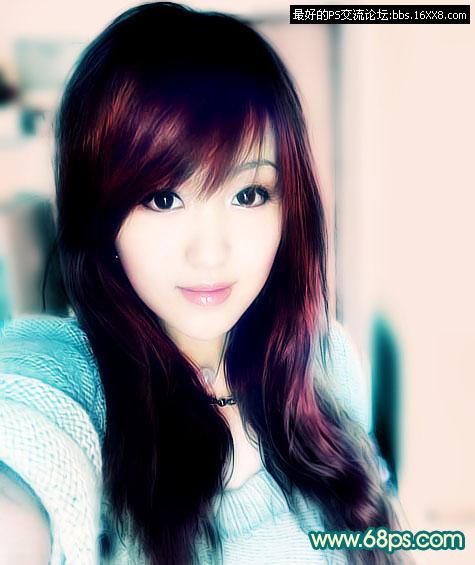
最終效果
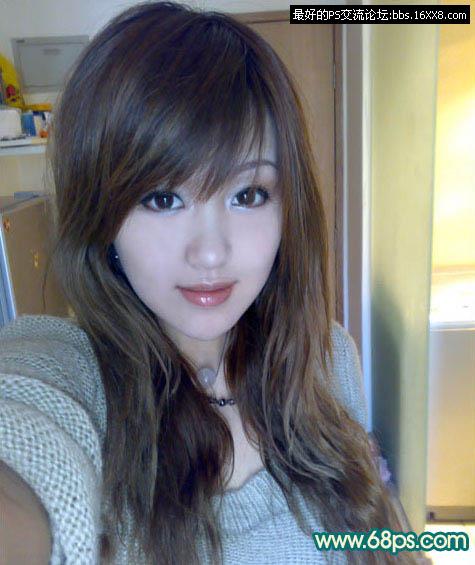
原圖
1、打開原圖,創(chuàng)建色彩平衡調整圖層,參數設置如圖1,效果如圖2。
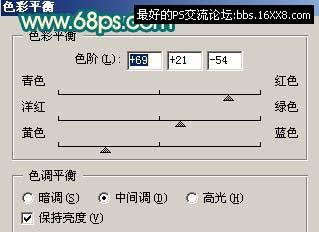
圖1
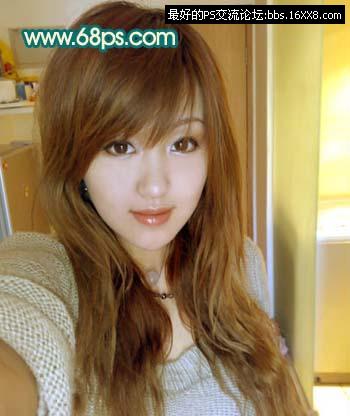
圖2
2、創(chuàng)建曲線調整圖層,參數設置如圖3,效果如圖4。
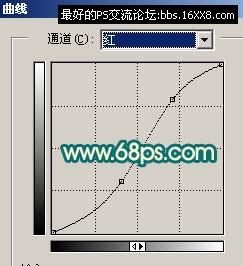
圖3
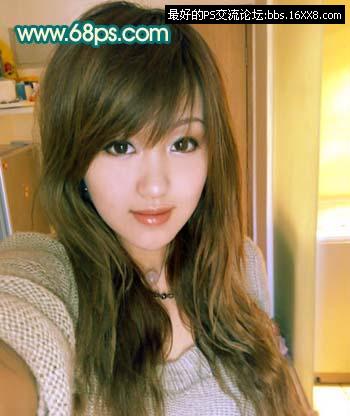
圖4
3、新建一個圖層,按Ctrl + Alt + Shift + E蓋印圖層,執(zhí)行:濾鏡 模糊 高斯模糊,數值為5,確定后把圖層混合模式改為柔光效果如圖5。
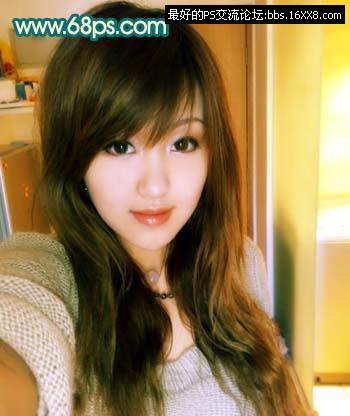
圖5
4、創(chuàng)建通道混合器調整圖層,參數設置如圖6,效果如圖7。
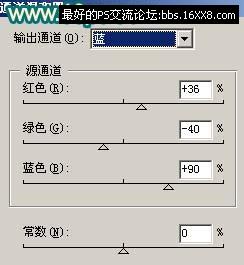
圖6
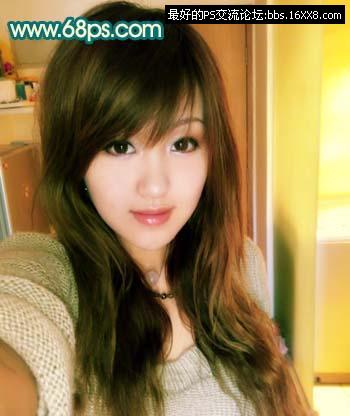
圖7
本教程介紹色彩比較沉的照片調色方法。思路:先局部上色,用畫筆選擇不同的顏色把人物的局部涂出來,再改變混合模式即可改變局部顏色。然后再整體調色。調色的時候可以適當把背景模糊處理!
最終效果
原圖
1、打開原圖,創(chuàng)建色彩平衡調整圖層,參數設置如圖1,效果如圖2。
圖1
圖2
2、創(chuàng)建曲線調整圖層,參數設置如圖3,效果如圖4。
圖3
圖4
3、新建一個圖層,按Ctrl + Alt + Shift + E蓋印圖層,執(zhí)行:濾鏡 模糊 高斯模糊,數值為5,確定后把圖層混合模式改為柔光效果如圖5。
圖5
4、創(chuàng)建通道混合器調整圖層,參數設置如圖6,效果如圖7。
圖6
圖7
相關推薦

非主流照片制作之單色效果

Photoshop快速修復強光照射的非主

非主流ps教程:非主流烈焰美女效果

ps非主流橙綠色

ps調出高級復古歐美色調教程

PS夜景美化:調出唯美藍色夜景燈光照片效果

調出絢麗藍天白云山水風景圖片的PS教程

調出金色晨曦森林兒童背影照片的PS教程


