ps還原灰度照片的完美色調教程
2022-12-25 19:47:48
來源/作者: /
己有:180人學習過
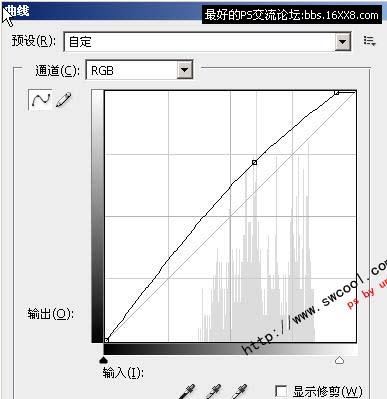
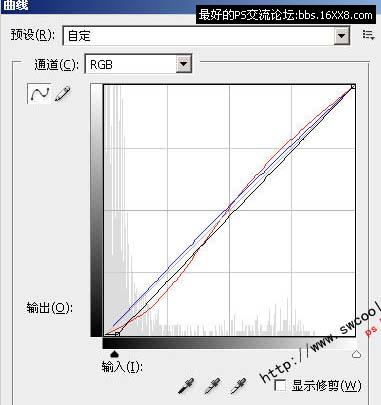
22、進一步,調整膚色——可選顏色:
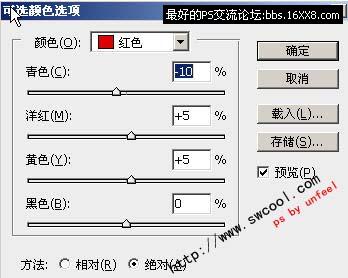
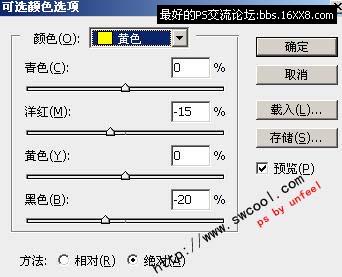
23、此時效果:
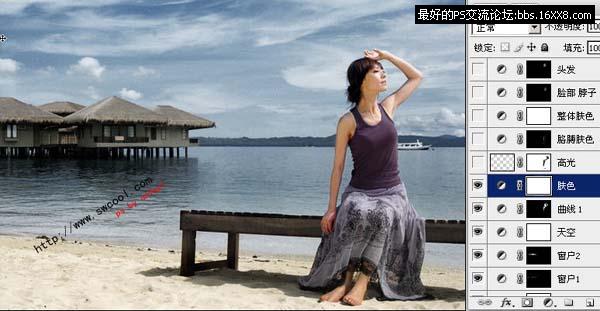
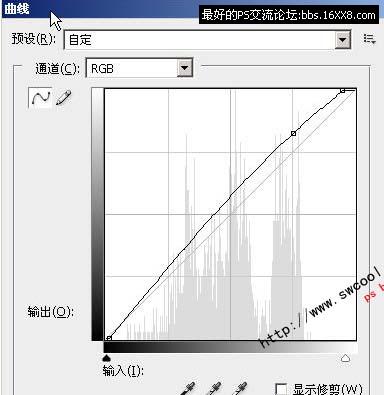
24、大致效果,基本處理了,可皮膚部份,還欠缺,我們來做高光,方法這里就不多介紹了,論壇上有很多,大家可以“搜索”一下:
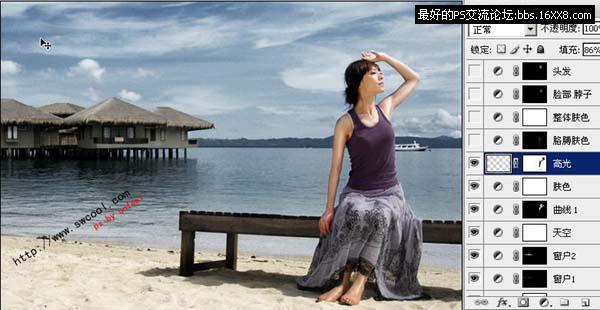
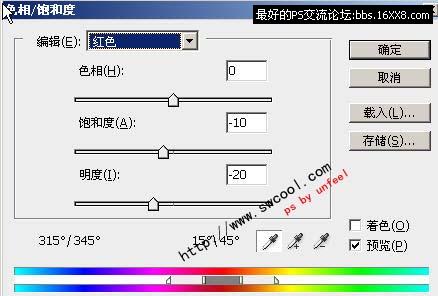
25、為了,進一步接近目標效果,這里,我繼續加強了皮膚調整,首先是胳膊部份:
26、脖子部份:
27、以上2步,都需要結合 畫筆+蒙版 擦出需要調整部分,然后整體膚色,降低飽和度和明度:
28、好了,現在的效果:
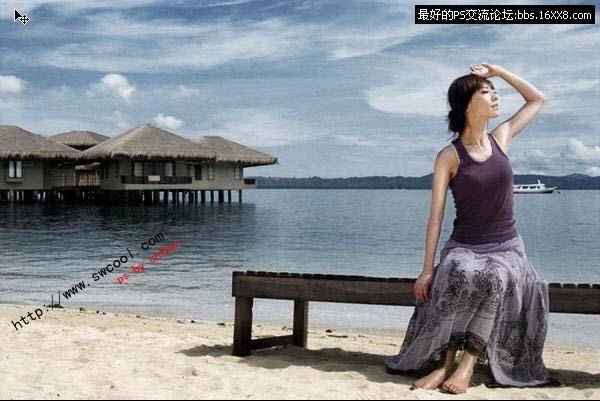
29、把頭發部份,稍微加深了下:
30、做暗角后,效果:
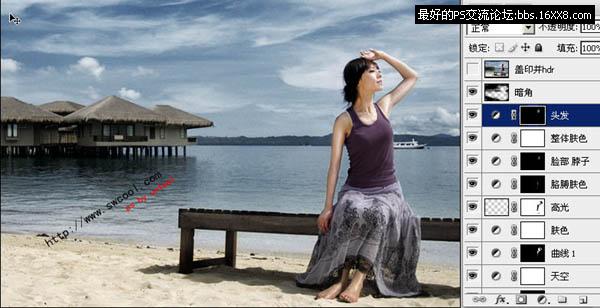
31、此時的效果,已經接近目標了,我最后,蓋印圖層并做HDR,進一步加強效果:
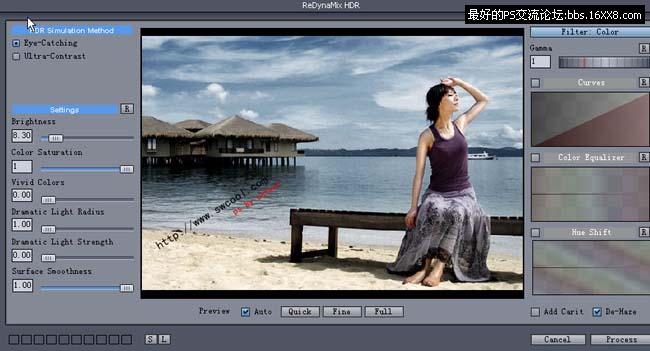
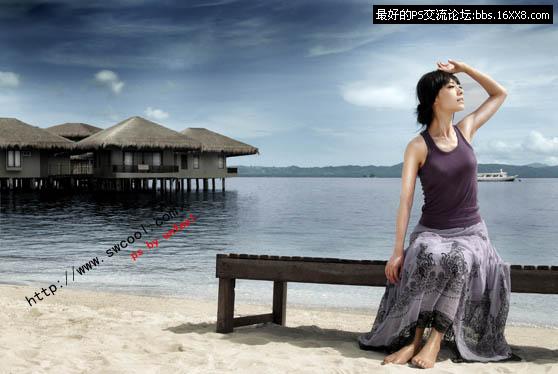
32、至此,大功告成:
標簽(TAG) 人物調色
下一篇:ps坐在草地上的非主流美女教程
相關推薦

簡易畫貓頭鷹的步驟 畫貓頭鷹的簡

幼兒簡筆畫烏鴉的畫法 教你如何畫

如何簡單的畫一條魚 5步畫魚簡筆畫

ps cs6做鉚釘效果文字

ps調出高級復古歐美色調教程

PS夜景美化:調出唯美藍色夜景燈光照片效果

調出絢麗藍天白云山水風景圖片的PS教程

調出金色晨曦森林兒童背影照片的PS教程


