[非主流PS教程] ps非主流打造美女照片藝術海報效果
2022-12-25 17:45:18
來源/作者: /
己有:7人學習過
ps非主流打造美女照片藝術海報效果
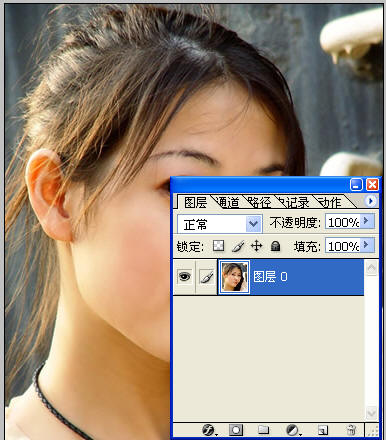
打開原圖,并且把圖層解鎖
“圖像”-“應用圖像”

改模式

新建立一個圖層,拖到最下面,然后填充顏色為:R:0,G:37,B:94

再建立一個圖層,填充為黑色

“濾鏡”-“雜色”-“添加雜色”

更改模式和不透明度:

拼合圖層,打上自己喜歡的文字,文字顏色為白色,模式為排除:

拼合所有圖層,最終效果:

打開原圖,并且把圖層解鎖
“圖像”-“應用圖像”
改模式
新建立一個圖層,拖到最下面,然后填充顏色為:R:0,G:37,B:94
再建立一個圖層,填充為黑色
“濾鏡”-“雜色”-“添加雜色”
更改模式和不透明度:
拼合圖層,打上自己喜歡的文字,文字顏色為白色,模式為排除:
拼合所有圖層,最終效果:
下一篇:中性色,調出偏灰色的中性色效果
相關推薦

Photoshop快速修復強光照射的非主

PS實用教程:ps修復偏色風景照片

精細調整還你山清水秀——桔子教程

photoshop修復教程:還原泛黃色照片

ps調出高級復古歐美色調教程

PS夜景美化:調出唯美藍色夜景燈光照片效果

調出絢麗藍天白云山水風景圖片的PS教程

調出金色晨曦森林兒童背影照片的PS教程


