Photoshop調出情侶圖片懷舊的暖色調
2022-12-25 15:07:55
來源/作者: /
己有:31人學習過
5、按Ctrl
+ Alt + ~ 調出高光選區,按Ctrl + Shift + I 反選,新建一個圖層填充顏色:#1A184A,混合模式改為“濾色”,效果如下圖。這一步是給圖片增加一些補色。
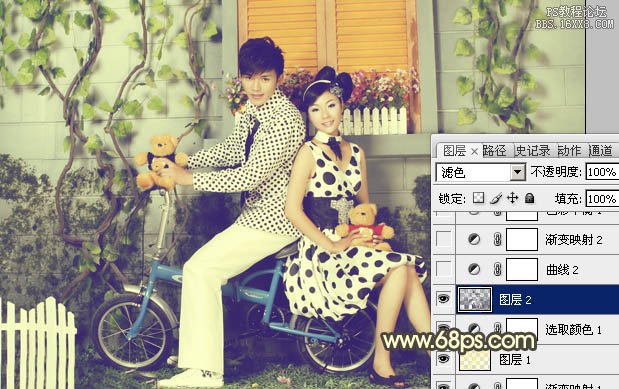
<圖13>
6、創建曲線調整圖層,對藍色進行調整,參數設置如圖14,效果如圖15。

<圖14>
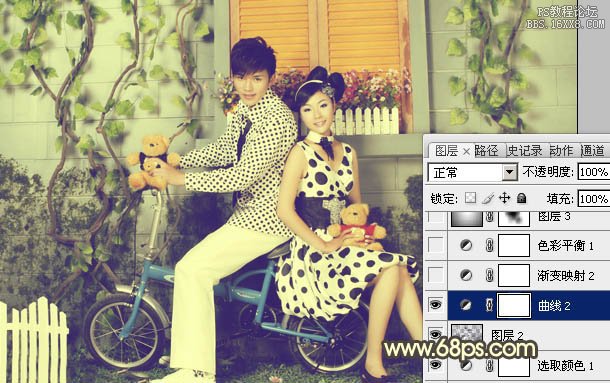
<圖15>
<圖13>
6、創建曲線調整圖層,對藍色進行調整,參數設置如圖14,效果如圖15。
<圖14>
<圖15>
相關推薦

情侶寫真,調出復古小清新色調情侶影

ps調出高級復古歐美色調教程

PS夜景美化:調出唯美藍色夜景燈光照片效果

調出絢麗藍天白云山水風景圖片的PS教程

調出金色晨曦森林兒童背影照片的PS教程


