photoshop調色教程:商業化暗調視覺效果
2022-12-25 14:32:41
來源/作者: /
己有:15人學習過
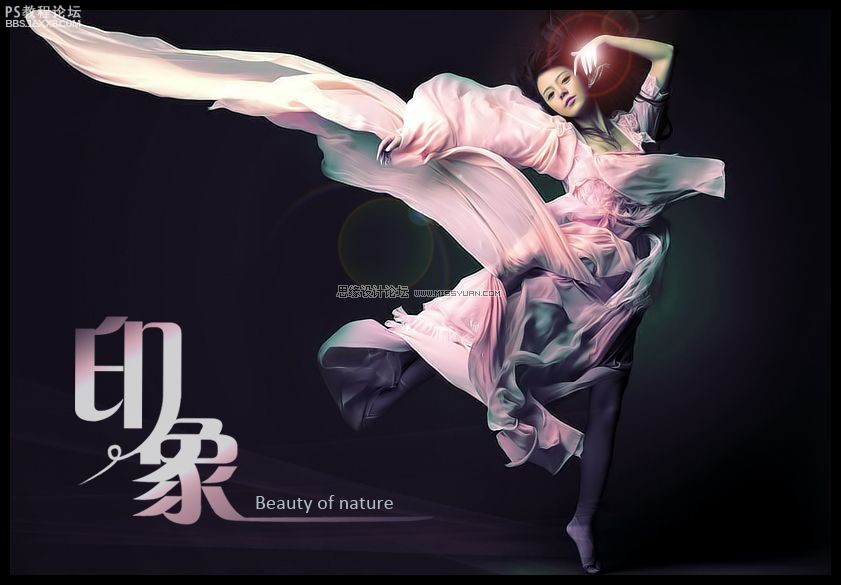
本教程主要用photoshop來調整一張商業化暗調視覺效果的片子,整體的色彩給人的感覺有點復古,然后用TOPAZ給照片銳化了一下,整體的效果就出來了.
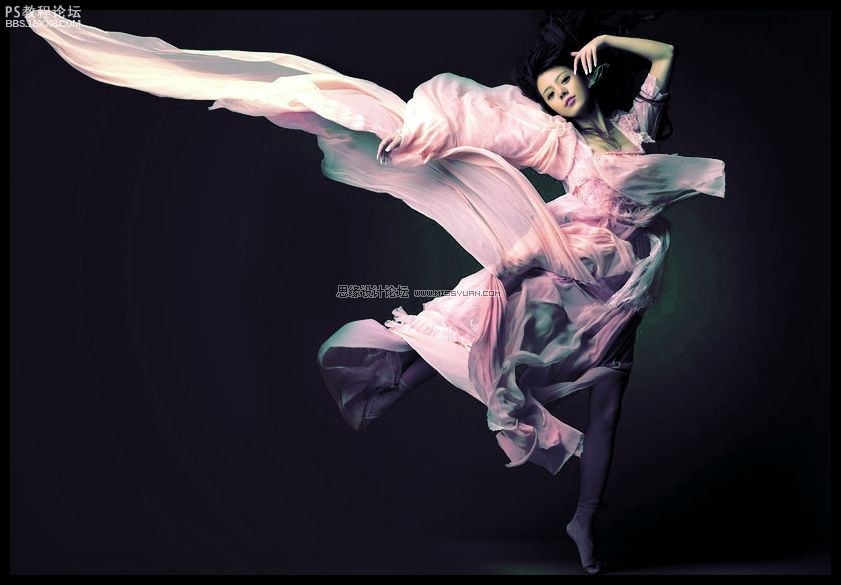
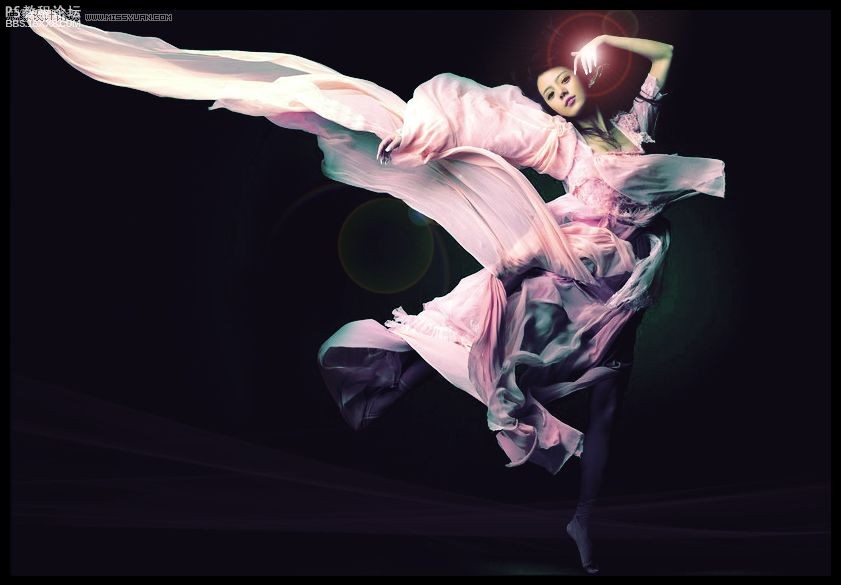
1)先看看效果圖
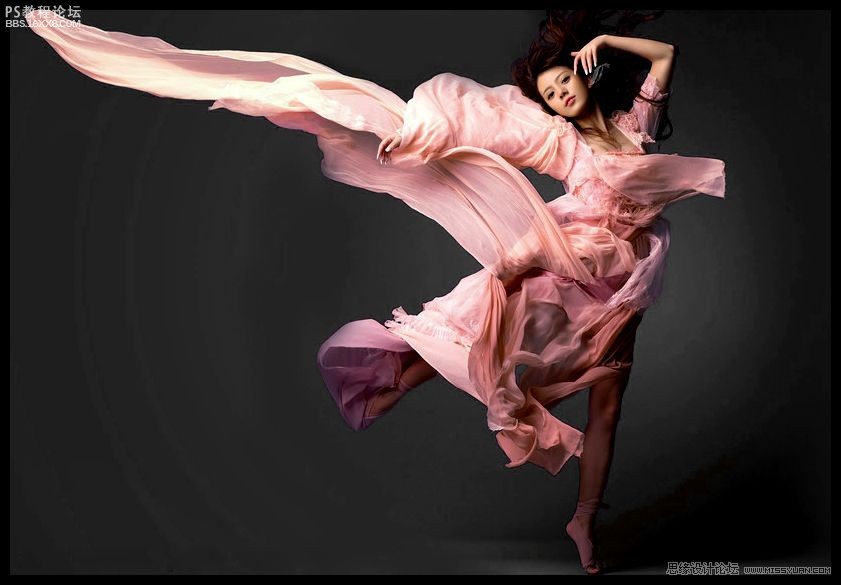
2)素材圖片

,
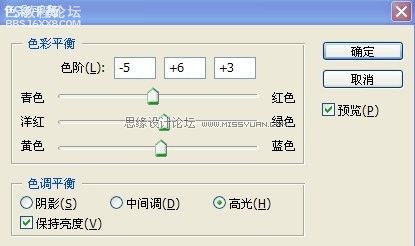
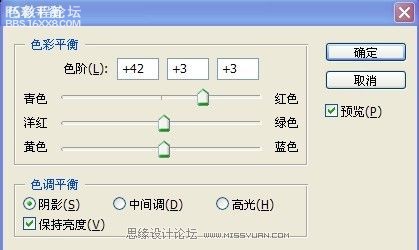
3)打開美女圖片。點擊圖層調板中的 前天 19:28,創建色彩平衡和可選顏色調整層。 (1)色彩平衡中的陰影和高光設置,而中間調不變 (2)可選顏色對一些顏色進行設置。 (3)設置后效果圖為下圖
3)打開美女圖片。點擊圖層調板中的

前天 19:28,創建色彩平衡和可選顏色調整層。
(1)色彩平衡中的陰影和高光設置,而中間調不變
(2)可選顏色對一些顏色進行設置。
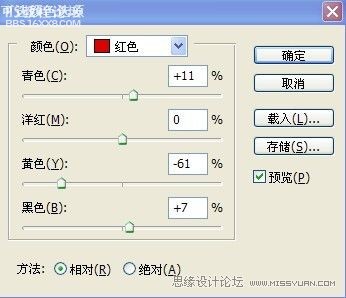
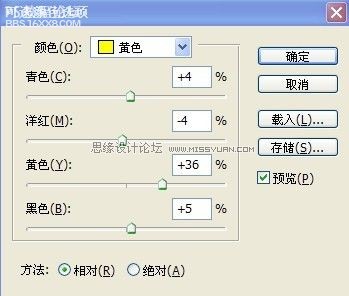
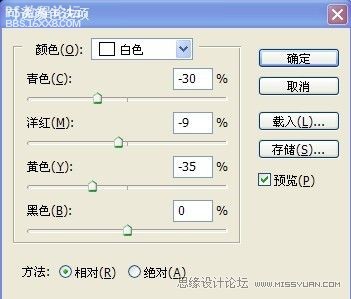
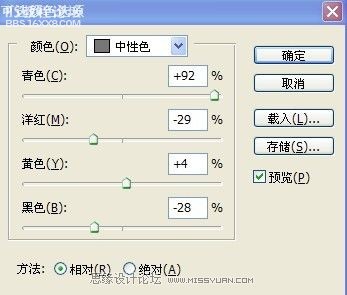
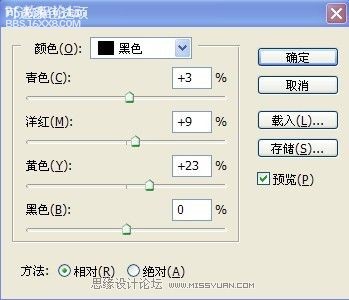
(3)設置后效果圖為下圖
,
4)把素材圖片導入為圖層2,ctrl+t,調整大?=疾隳J繳櫛淞痢H緩笮陸ㄍ疾鬮疾?.ctrl+alt+shfit+e。合并圖層,在復制圖層3.把圖層模式改為柔光,不透明度為50% 最終效果為: 5)新建圖層4,填充黑色。濾鏡--
4)把素材圖片導入為圖層2,ctrl+t,調整大小。將圖層模式設為“變亮”。然后新建圖層為圖層3.ctrl+alt+shfit+e。合并圖層,在復制圖層3.把圖層模式改為“柔光”,不透明度為50%
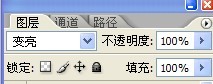
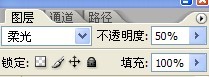
最終效果為:

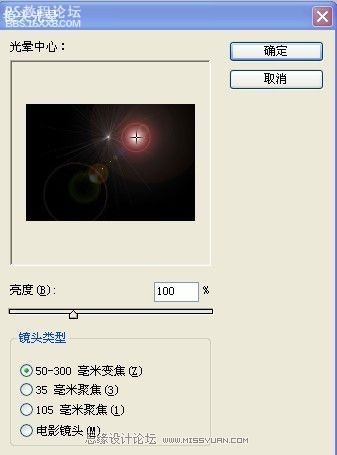
5)新建圖層4,填充黑色。濾鏡--渲染--鏡頭光暈。并將其圖層模式設為“濾色”.ctrl+t并對其調整,效果如下圖:
,
6)寫上文字印象,并柵格化文字,刪掉不好的部分。 7)新建圖層。用鋼筆工具勾畫如下圖的效果。并ctrl+enter轉化為選區。填充白色。最后的效果為下圖: 8)合并所有與文字有關的圖層。雙擊,添加圖層樣式。 9)新建圖層
6)寫上文字“印象”,并柵格化文字,刪掉不好的部分。


7)新建圖層。用鋼筆工具勾畫如下圖的效果。并ctrl+enter轉化為選區。填充白色。最后的效果為下圖:


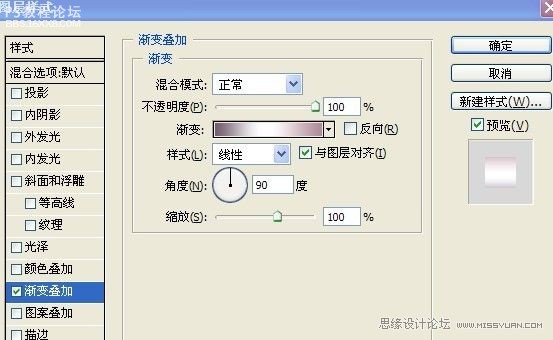
8)合并所有與文字有關的圖層。雙擊,添加圖層樣式。
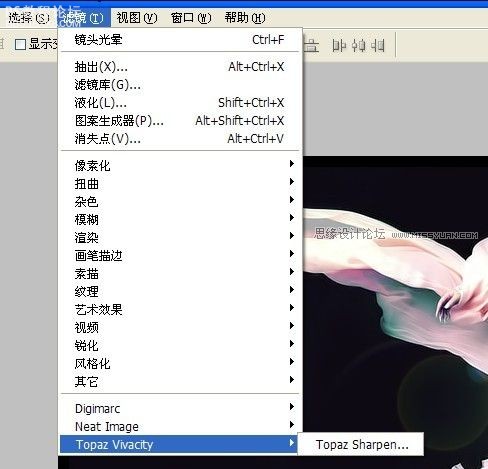
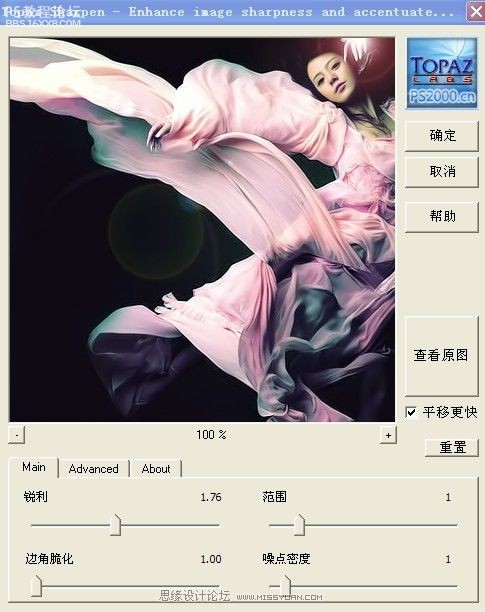
9)新建圖層。ctrl+alt+shfit+e。合并圖層,如果你沒有下載“topaz濾鏡”請下載。
對其設置參數:
1)先看看效果圖
2)素材圖片
,
3)打開美女圖片。點擊圖層調板中的 前天 19:28,創建色彩平衡和可選顏色調整層。 (1)色彩平衡中的陰影和高光設置,而中間調不變 (2)可選顏色對一些顏色進行設置。 (3)設置后效果圖為下圖
3)打開美女圖片。點擊圖層調板中的
前天 19:28,創建色彩平衡和可選顏色調整層。
(1)色彩平衡中的陰影和高光設置,而中間調不變
(2)可選顏色對一些顏色進行設置。
(3)設置后效果圖為下圖
,
4)把素材圖片導入為圖層2,ctrl+t,調整大?=疾隳J繳櫛淞痢H緩笮陸ㄍ疾鬮疾?.ctrl+alt+shfit+e。合并圖層,在復制圖層3.把圖層模式改為柔光,不透明度為50% 最終效果為: 5)新建圖層4,填充黑色。濾鏡--
4)把素材圖片導入為圖層2,ctrl+t,調整大小。將圖層模式設為“變亮”。然后新建圖層為圖層3.ctrl+alt+shfit+e。合并圖層,在復制圖層3.把圖層模式改為“柔光”,不透明度為50%
最終效果為:
5)新建圖層4,填充黑色。濾鏡--渲染--鏡頭光暈。并將其圖層模式設為“濾色”.ctrl+t并對其調整,效果如下圖:
,
6)寫上文字印象,并柵格化文字,刪掉不好的部分。 7)新建圖層。用鋼筆工具勾畫如下圖的效果。并ctrl+enter轉化為選區。填充白色。最后的效果為下圖: 8)合并所有與文字有關的圖層。雙擊,添加圖層樣式。 9)新建圖層
6)寫上文字“印象”,并柵格化文字,刪掉不好的部分。
7)新建圖層。用鋼筆工具勾畫如下圖的效果。并ctrl+enter轉化為選區。填充白色。最后的效果為下圖:
8)合并所有與文字有關的圖層。雙擊,添加圖層樣式。
9)新建圖層。ctrl+alt+shfit+e。合并圖層,如果你沒有下載“topaz濾鏡”請下載。
對其設置參數:
上一篇:ps調出人物暗調金屬質感
下一篇:暗黑系,森林寫真暗黑系調色教程
相關推薦

情侶寫真,調出復古小清新色調情侶影

ps調出高級復古歐美色調教程

PS夜景美化:調出唯美藍色夜景燈光照片效果

調出絢麗藍天白云山水風景圖片的PS教程

調出金色晨曦森林兒童背影照片的PS教程


